How to Make a 3D Model of the Ocean Floor
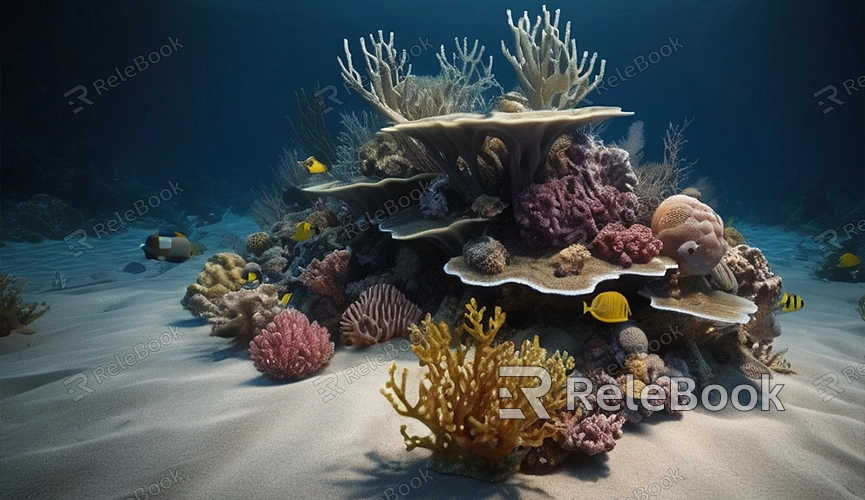
Creating a realistic 3D model of the ocean floor can greatly enhance your virtual projects, whether they are for movies, games, or educational scenarios. Modeling the ocean floor involves various techniques, including terrain generation, texture application, and lighting rendering. This guide will explain in detail how to create a 3D model of the ocean floor in 3D software, with a focus on Blender.
Choose the Right Modeling Tool
Before you start modeling the ocean floor, selecting the appropriate 3D modeling tool is crucial. Blender, a powerful open-source 3D software, is suitable for both beginners and professionals. Blender offers a wide range of modeling and sculpting tools that allow you to create complex terrain and details with flexibility.
In Blender, you can begin with a basic plane and sculpt the ocean floor terrain using deformation tools. For example, the “Extrude” and “Scale” functions can easily help you create the contours of ocean trenches, seamounts, and seabed plains. Additionally, Blender’s “Displacement Mapping” feature can assist you in quickly generating more complex and natural ocean floor terrain details.
Use Terrain Generation Tools
Besides manual sculpting, terrain generation tools are also an effective method for creating ocean floor 3D models. You can use Blender’s displacement mapping feature to apply height maps to generate realistic terrain. These height maps can be downloaded from online resources or created using specialized terrain generation software such as World Machine or Terragen.
Height maps allow you to quickly generate complex terrain features like underwater mountains and valleys. This method ensures naturalness and realism in the terrain, making it ideal for projects that require large-scale ocean floor scenes.
Add Details and Materials
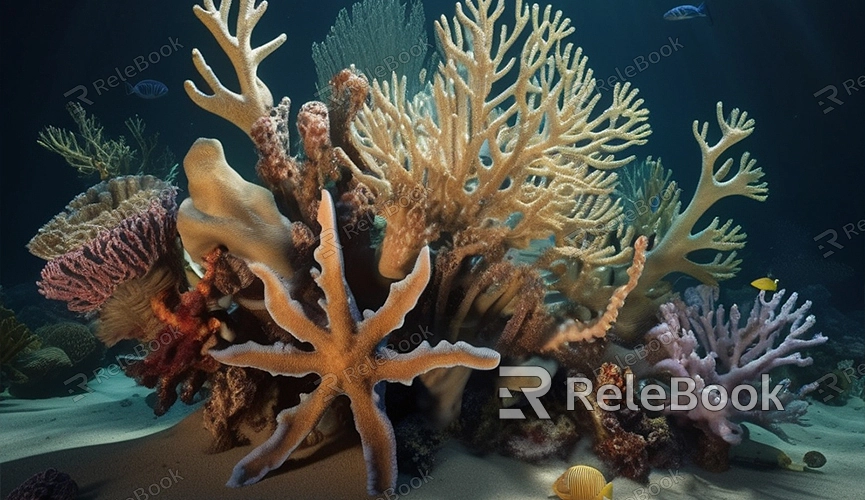
After creating the basic shape of the ocean floor terrain, the next important step is adding details and materials. The textures of the ocean floor can be layered, including rocks, sand, and underwater plants. To enhance realism, you need to apply different texture maps to various areas of your model.
Blender’s node editor is a highly flexible tool that allows you to fine-tune materials. You can create complex effects by blending different textures, such as adding algae and moss to rock surfaces or including shells and stones in sandy areas.
High-quality textures can make your ocean floor model more realistic. If you need many high-quality 3D textures and HDRIs for your models and virtual scenes, you can download them for free from [Relebook](https://textures.relebook.com/). This way, you can quickly find materials suitable for ocean environments and enhance your model's quality.
Adjust Lighting and Rendering Settings
Lighting plays a crucial role in the presentation of 3D models, especially in underwater scenes. To create realistic underwater lighting effects, you need to set up soft light sources and simulate light refraction and scattering through the water surface. Blender provides environment lighting (HDRI) and volumetric scattering features to effectively simulate underwater light changes.
To enhance the mysterious feel of the ocean floor, you can incorporate blue-green ambient lighting and add volumetric fog to blur distant details, simulating the effect of particles in the water. If you need high-quality HDRI textures to simulate ambient lighting, you can download them for free from [Relebook](https://textures.relebook.com/), where various HDRI resources suitable for ocean scenes are available.
Complete and Optimize the Model
After completing the model and applying materials, the final step is optimization and rendering. Complex scenes often result in long rendering times, so it is essential to optimize your model before the final render. This includes reducing unnecessary polygons, using lower-resolution textures, and setting up rendering parameters appropriately.
In Blender, enabling the “Simplify” option and using the “Denoising” feature can effectively reduce rendering times while maintaining image quality. Additionally, you can use Blender’s “Render Passes” feature to layer different parts of the model, allowing more flexible adjustments during post-production.
Creating a realistic ocean floor 3D model requires detailed modeling, appropriate materials, and lighting settings. With Blender’s powerful tools, you can easily generate complex ocean floor terrain and enhance the model’s realism with high-quality textures and lighting effects. If you need many high-quality 3D textures and HDRIs for your models and virtual scenes, download them for free from [Relebook](https://textures.relebook.com/). For beautiful 3D models, visit [Relebook](https://3dmodels.relebook.com/), which offers a wide range of premium 3D resources to help you bring your creative visions to life.
